Nightwatch v2.2 brings its own integrated HTML reporter which better aggregates test results along with other details. In this blog, we will set up the Nightwatch project which automatically publishes the generated HTML report on GitHub pages after the test tun.
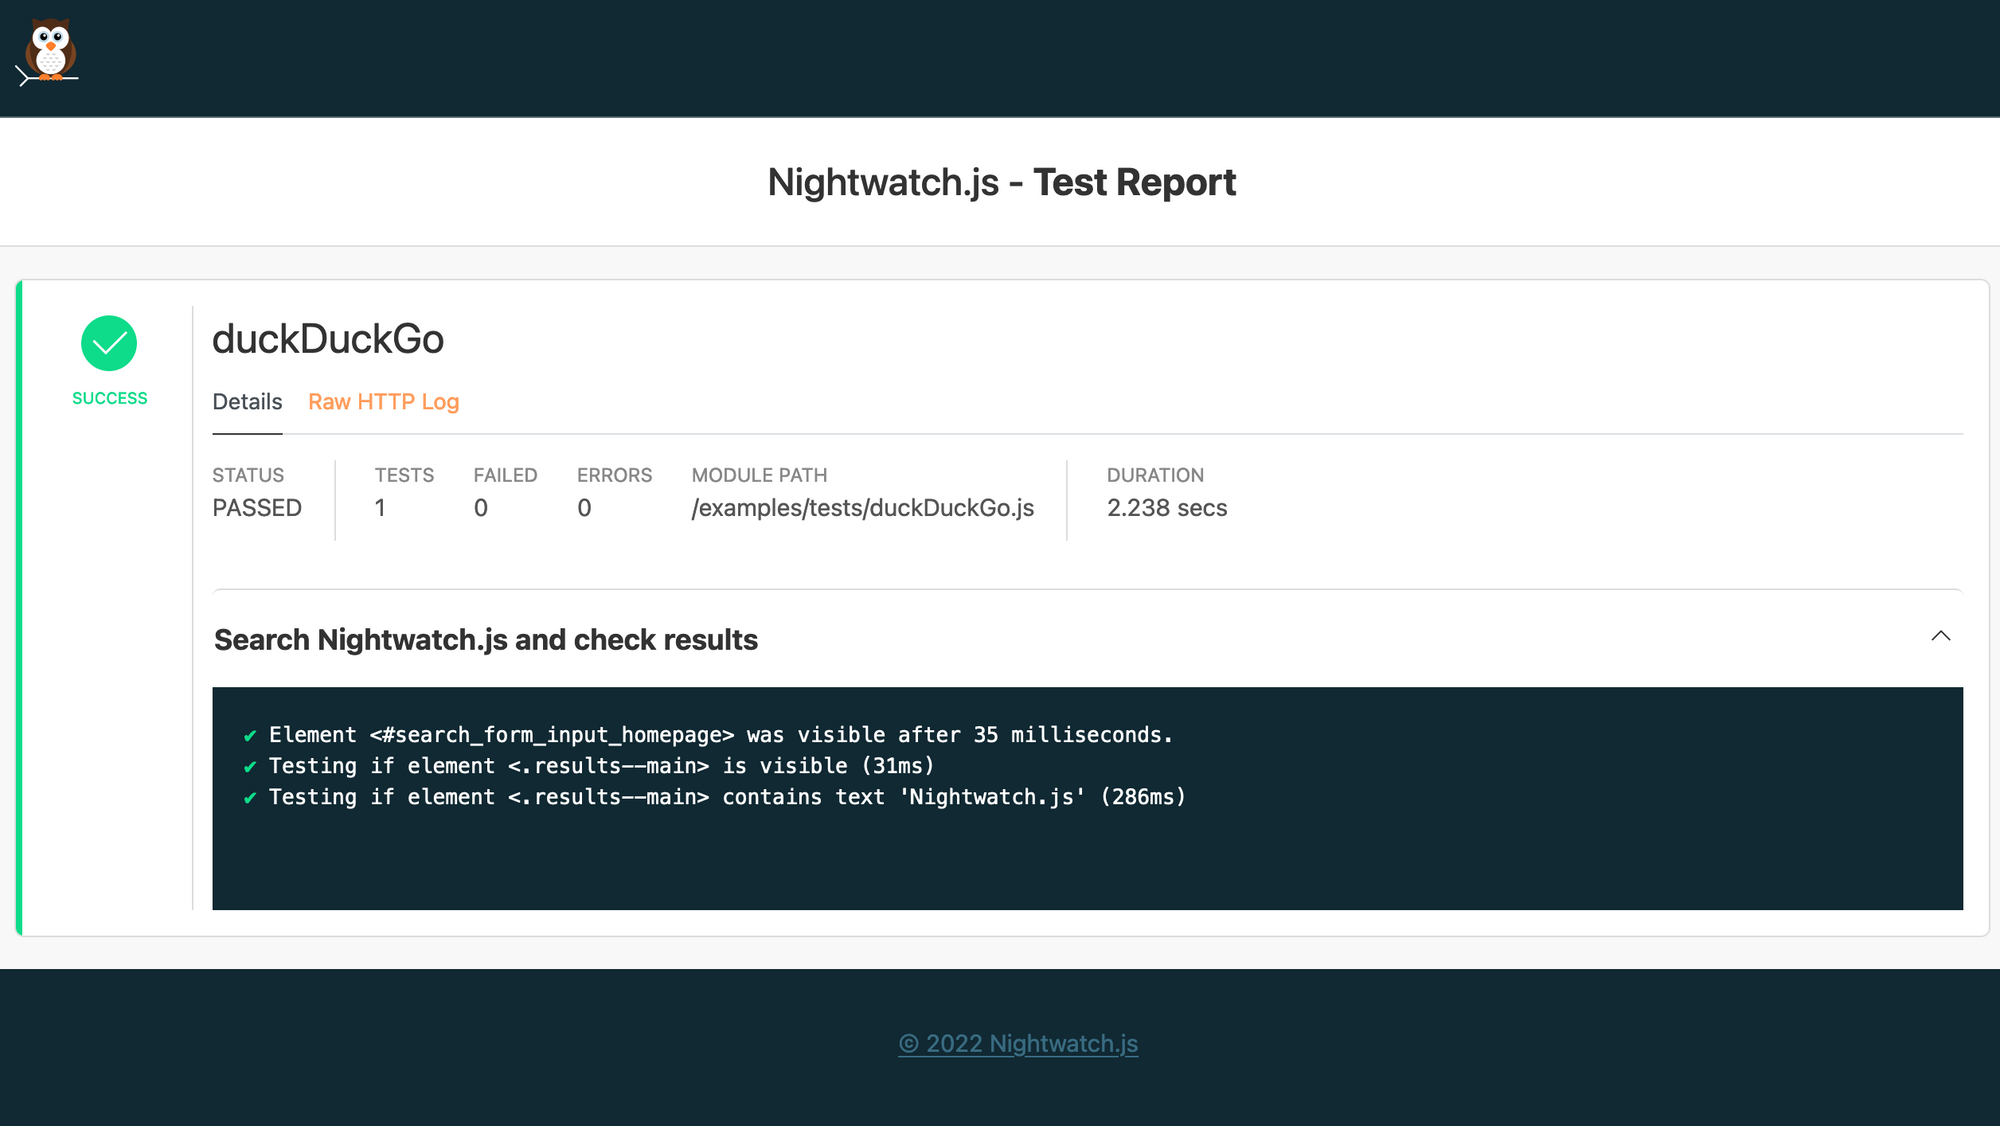
Here is the preview of Nightwatch HTML Report:
Create Project
1. Setup Nightwatch
I am using the nightwatch-examples repo as a template to set up some example tests.
You can also use the Nightwatch init command which would manage all the config and dependencies as well as add some example tests in your project.
npm init nightwatch
2. Run the tests locally
To check if the tests are running locally,in the nightwatch-examples template there is already a test script in package.json:
// package.json

"scripts": {
    "test": "nightwatch --env chrome"
  },
Run the tests with:
npm test
Define GitHub workflow
Let's move on to automating the execution and publishing of the test report with GitHub actions.
1. Create Test Workflow
Create a directory .github/workflows and add test.yml
//test.yml

name: nightwatch.tests
on:
  push:
    branches:
    - main
jobs:
  tests:
    name: 'nightwatch tests'
    timeout-minutes: 60
    runs-on: ubuntu-latest
    steps:
      - uses: actions/checkout@master
      - uses: actions/setup-node@v2
        with:
          node-version: "14.x"
      - name: Install dependencies
        run: npm ci
      - name: Run Nightwatch tests
        continue-on-error: true
        run: xvfb-run --auto-servernum npm test -- --env chrome
      - name: "Publish test results"
        uses: peaceiris/actions-gh-pages@v3.7.3
        with:
          github_token: ${{ secrets.GITHUB_TOKEN }}
          publish_dir: './tests_output/nightwatch-html-report'
          keep_files: true
          user_name: <user-name>
          user_email: <user-email>
I have selected the main branch to run GitHub Actions. In the following steps, it downloads the dependencies, runs tests, and publishes reports to a branch gh-pages which will be used to host the HTML page.
Some configuration details:
continue-on-erroris set to true as we need to publish reports in case of failure.publish_dirpoints to the directory where the Nightwatch HTML report is generated by default. These can be changed using the Nightwatch output configuration.user_name,user_email, andgithub_tokenare used to create a commit and push content to the selected branch.
Running tests in headless mode is not always 100% reliable, so we have added support for using xvfb to run tests in Chrome.
2. Setup GitHub Pages
And the final step is to enable GitHub Pages for your project under Settings → Pages.
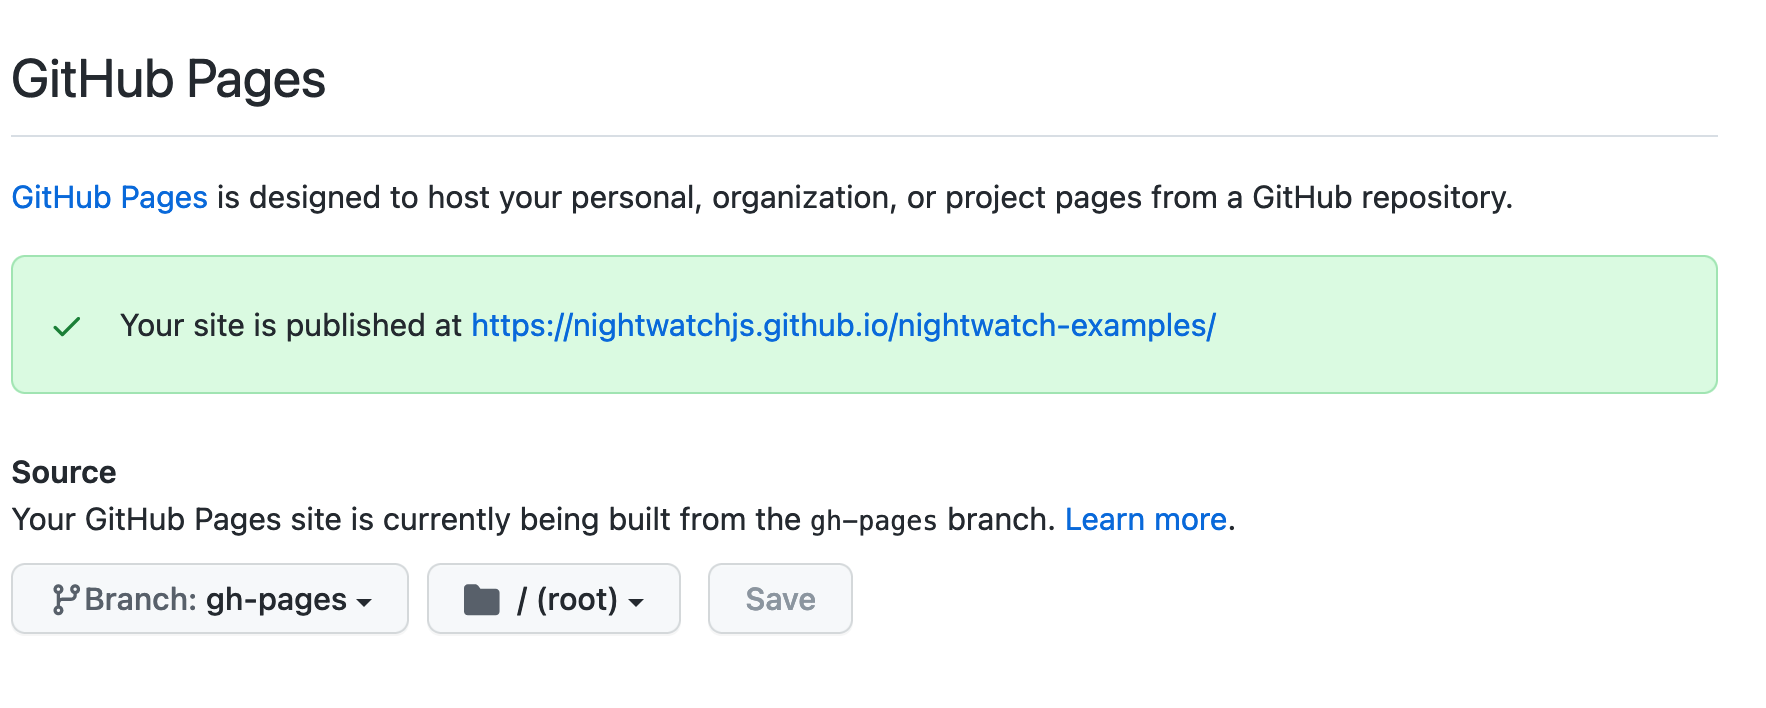
And we are good to go ⭐.
To verify everything is set up correctly push all the changes to GitHub which triggers Actions.
3. Triggering Test Workflows
Typically we want to run the jobs not only when tests are updated but also when there is a new deployment or a need to schedule jobs.
Conclusion
Using GitHub Actions helps us to automate our test execution and using GitHub pages we can publish our test reports. The report contains all the test details including raw HTTP logs which would help in debugging later on.