Intro
A Series on Web Testing with Nightwatch
Welcome to our blog series on testing websites and web apps in real browsers with Nightwatch. We will go through learning about testing step by step.
- Getting started (you’re here)
- Complex scenarios and tests for websites
- Test writing patterns focussing on Page Object Model (POM)
- Generating HTML reports with DOM history for thorough analysis
- Creating custom commands using Nightwatch
Additionally, we'll explore two powerful features of Nightwatch:
- The Inspector tool, which enables you to write tests using a graphical interface, and
- The Chrome Recorder, which allows you to create tests without writing code. We'll guide you through the process of using these tools effectively.
To ensure comprehensive testing, we'll also discuss
- Running tests on CI – GitHub Actions
- Cross-browser testing using BrowserStack
- Running tests on mobile browsers
By the end of this series, you will have a solid foundation in web testing with Nightwatch, enabling you to ensure the quality and reliability of your web projects.
In this initial blog post, we will focus on getting started with Nightwatch. From setting up Nightwatch to writing your first test and generating reports, we'll provide a step-by-step guide to get you started on your web testing journey using Nightwatch. You can also watch the video tutorial of this post.
A Brief on the Testing Space
Software testing encompasses various types of testing to ensure the quality and reliability of applications. Unit testing validates individual code units, integration testing checks component interactions, and API testing focuses on API functionality. Visual regression testing detects visual changes, while end-to-end testing covers the entire application flow. Accessibility testing ensures inclusive user experiences. Cross-browser testing guarantees compatibility across different browsers, and mobile testing ensures optimal performance on mobile devices. Each type of testing serves a specific purpose and contributes to ensuring a high-quality software product.
A Brief on Nightwatch 🦉
Nightwatch is a no-compromise test automation framework that simplifies web and mobile testing for developers. Nightwatch comes with a powerful set of tools to write, run and debug your tests across web and native mobile applications. It seamlessly integrates with popular testing tools and services, enabling efficient test execution and analysis of results.
Setting up Nightwatch
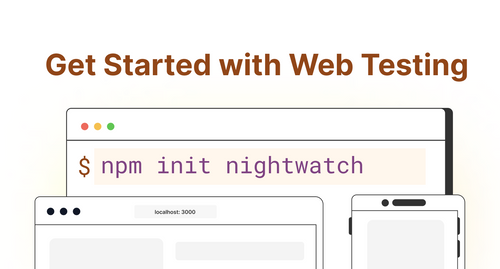
Let's get started. First, we need to set up Nightwatch in our development environment. Whether you're starting a new project or integrating Nightwatch into an existing one, we've got you covered.
npm init nightwatch <project-name>If you already have an existing web application, go into the root folder and run the following.
npm init nightwatchNightwatch will then ask a series of questions. Please answer the following.
? Select testing type to setup for your project
    ❯◉ End-to-End testing
? Select language + test runner variant
    ❯ JavaScript / default
? Select target browsers
    ❯◉ Chrome
? Enter source folder where test files are stored
    test
? Enter the base_url of the project
    https://nightwatchjs.org/
? Select where to run Nightwatch tests On
    ❯ localhost
? Allow Nightwatch to collect completely anonymous usage metrics?
    ❯ Yes
? Setup testing on Mobile devices as well?
❯ No, skip for nowIt is as simple as that to set up Nightwatch! Once you answer the questions, Nightwatch installs all the necessary dependencies and prepares your development environment for writing tests. For both new projects and existing ones, it's the exact same journey. You can read more about installation in our Guide here.
Your First Test
Now comes the exciting part – writing your first test! We'll guide you through the fundamentals of creating test scripts with Nightwatch.
Nightwatch supports the popular BDD interfaces for writing tests - describe and it format. Let's start by defining the spec for our first test. In this test, we will go to the homage page of Nightwatch and check if the title is correct → “Introducing Nightwatch v3”.
Create a file home.spec.js under /test folder with the following code.
describe('Nighwatch homepage', function() {
  it('Should have the correct title', function(browser) {
    browser.navigateTo('/').assert.textEquals('h1', 'Introducing Nightwatch v3')
  })
})
Explanation
browser.navigateTo('/') - We request the browser to go to the path '/' from the launch URL we've defined during installation. You can edit this in the config - nightwatch.conf.js
.assert.textEquals('h1', 'Introducing Nightwatch v3') - We verify if the text in the element with the selector h1 is equal to "Introducing Nightwatch v3" using the textEquals function.
Running
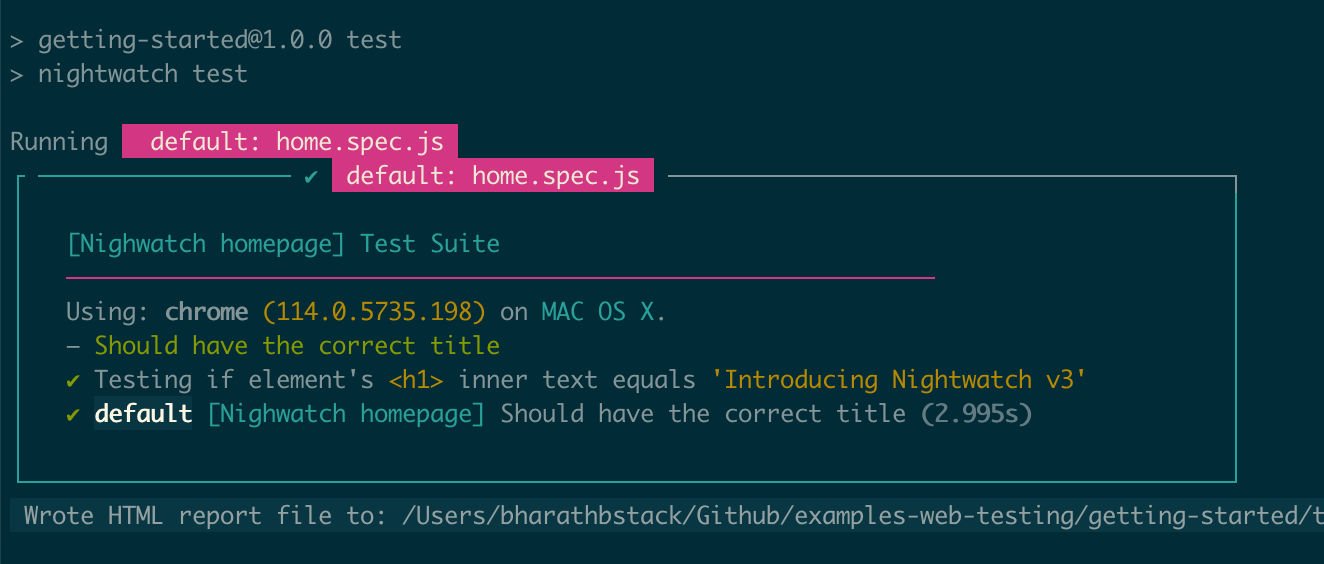
Once your test script is saved, it's time to execute it with Nightwatch. Go to your command line and enter the following command.
npx nightwatch testYou should see the Chrome browser open up, navigate to the Nightwatch home page and close. The command line should have the following.
Reports and Debugging
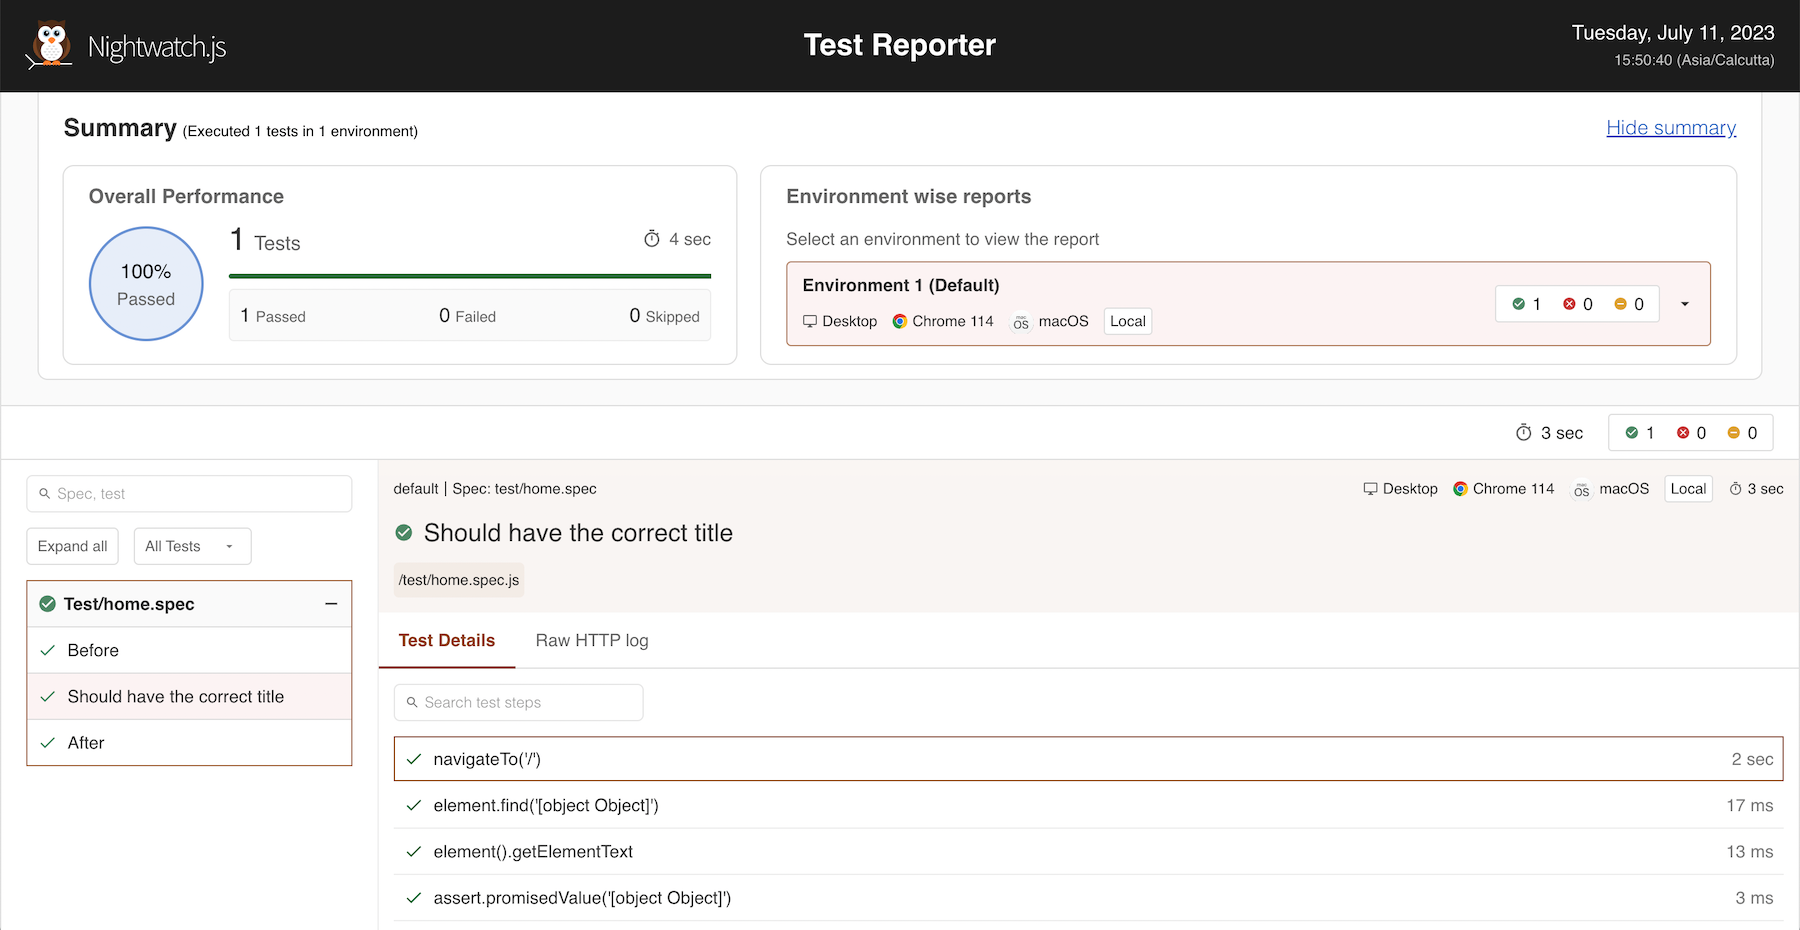
After executing tests, Nightwatch generates detailed reports that provide invaluable insights. Copy the HTML report file path and paste it into a browser with the prefix file://, and you'll see the following report. We can check this report for debugging our tests as we write complex tests and face issues.
Coming up Next
Exploring Complex Testing Use Cases and Advanced Techniques
You've learnt how to set up a testing environment with Nightwatch and successfully write an end-to-end test. In our next blog post, we will dive deeper into the realm of website testing – strategies for handling intricate testing scenarios, such as multi-tab interactions, complex selectors, iFrames, copy/paste, attribute assertions, using async/await, interacting with DOM elements, executing client JS and more. Stay tuned for our upcoming blog post on "Complex Testing Scenarios for Websites".
Join Our Community 💬
If you have any questions, don't hesitate to visit our Discord server and say hello. Our community is always available to provide support, share insights, and assist you with any testing-related inquiries you may have. We welcome your active participation and look forward to connecting with you in our Discord community.
Happy testing! 🎉
Video Tutorial
