JUnit XML Reporter
Overview
JUnit is a widespread XML format for generating test results and most CI system (e.g. Jenkins) have native support to plug this in so that more advanced reports can be displayed.
Nightwatch outputs JUnit-formatted XML by default and this can be controlled via the output_folder config setting.
Configuration
The HTML reporter is enabled by default, along with the HTML and JSON reporters since v2.2, but its behaviour can be configured as follows:
Via the config file
The output_folder config settings is used to specify the location where the JUnit XML report files will be saved. Nightwatch writes an XML file for each test suite file.
module.exports = {
  output_folder: 'tests_output'
}
Refer to the Configuration > Output settings page for a complete list of test output related settings.
Via the CLI
You can also configure the output folder at runtime via the CLI, using the --output flag:
nightwatch --output ./tests-outputRefer to the CLI reference page for a complete list of CLI flags that Nightwatch accepts.
The XML file name follows the pattern:
Example
Step 0: create a new project
First, let's create a new empty project and install Nightwatch inside it:
mkdir ./test-project && cd ./test-projectStep 1: install Nightwatch and chromedriver
Install nightwatch and chromedriver from NPM (chromedriver is the W3C WebDriver implementation for running tests in the Google Chrome browser; make sure you have the latest Chrome browser installed on your machine):
npm i nightwatch chromedriverStep 2: run an example test
Consider the duckDuckGo.js example test:
describe('duckduckgo example', function() {
  it('Search Nightwatch.js and check results', function(browser) {
    browser
      .navigateTo('https://duckduckgo.com')
      .waitForElementVisible('#search_form_input_homepage')
      .sendKeys('#search_form_input_homepage', ['Nightwatch.js'])
      .click('#search_button_homepage')
      .assert.visible('.results--main')
      .assert.textContains('.results--main', 'Nightwatch.js');
  });
});
Which we can run using the command:
npx nightwatch examples/tests/duckDuckGo.js --env chromeTo generate only the built-in JUnit-XML report, run the following command:
npx nightwatch examples/tests/duckDuckGo.js --env chrome --reporter=junitTo generate both the built-in JUnit-XML and HTML reports, run the following command (v2.2+):
npx nightwatch examples/tests/duckDuckGo.js --env chrome --reporter=junit --reporter=htmlStep 3: view the JUnit XML report
The JUnit XML report should have been generated in the local tests_output folder inside the current project directory. It will look something like this:
Jenkins integration
JUnit-formatted XML output integrates by default into Jenkins via the "Publish JUnit test result report" Post-build Action.
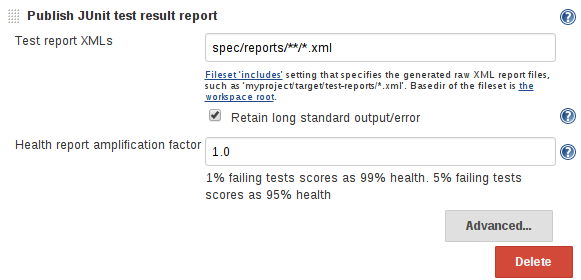
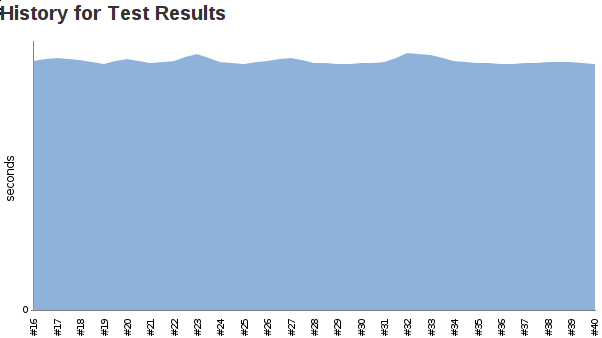
By integrating the test reports into Jenkins, you can generate trends and reports and take full advtange of Jenkins reporting features.
Please refer to the Jenkins user guide for more details.
JUnit schema
The complete The Apache Ant JUnit XML .xsd Schema is available on Github at: windyroad/JUnit-Schema/blob/master/JUnit.xsd.
Disable JUnit reports
The reports can be disabled completely if desired by setting the output_folder config settings to false:
module.exports = {
  output_folder: false
}